In case you aren't familiar with the
Design Team Throwdown and just happened upon my blog, please take a visit to check out what it's all about and to see all the great entries from the awesome DTs that have been participating! We would love for you to come back and vote starting on Friday, Sept 27th! Remember to vote fairly - check out all the entries before you vote for your favorites and be sure to leave the players some love on their blogs!
----------------------------------------------------------------------------------------------------------
Now for the guts of my post - For September the challenge was picked by the Challenge #8 champs DELICIOUS DOODLES! They chose the theme: METAL MANIA.
Metal is not a medium that I'm very comfortable with, but I love the look of it! The first thing that came to mind for me was "steampunk". So - i rolled with it. Here are some pictures and details of my creation. Since I created a little book there are TONS of pics :)
----------------------------------------------------------------------------------------------------------
A little more detail if you're interested:
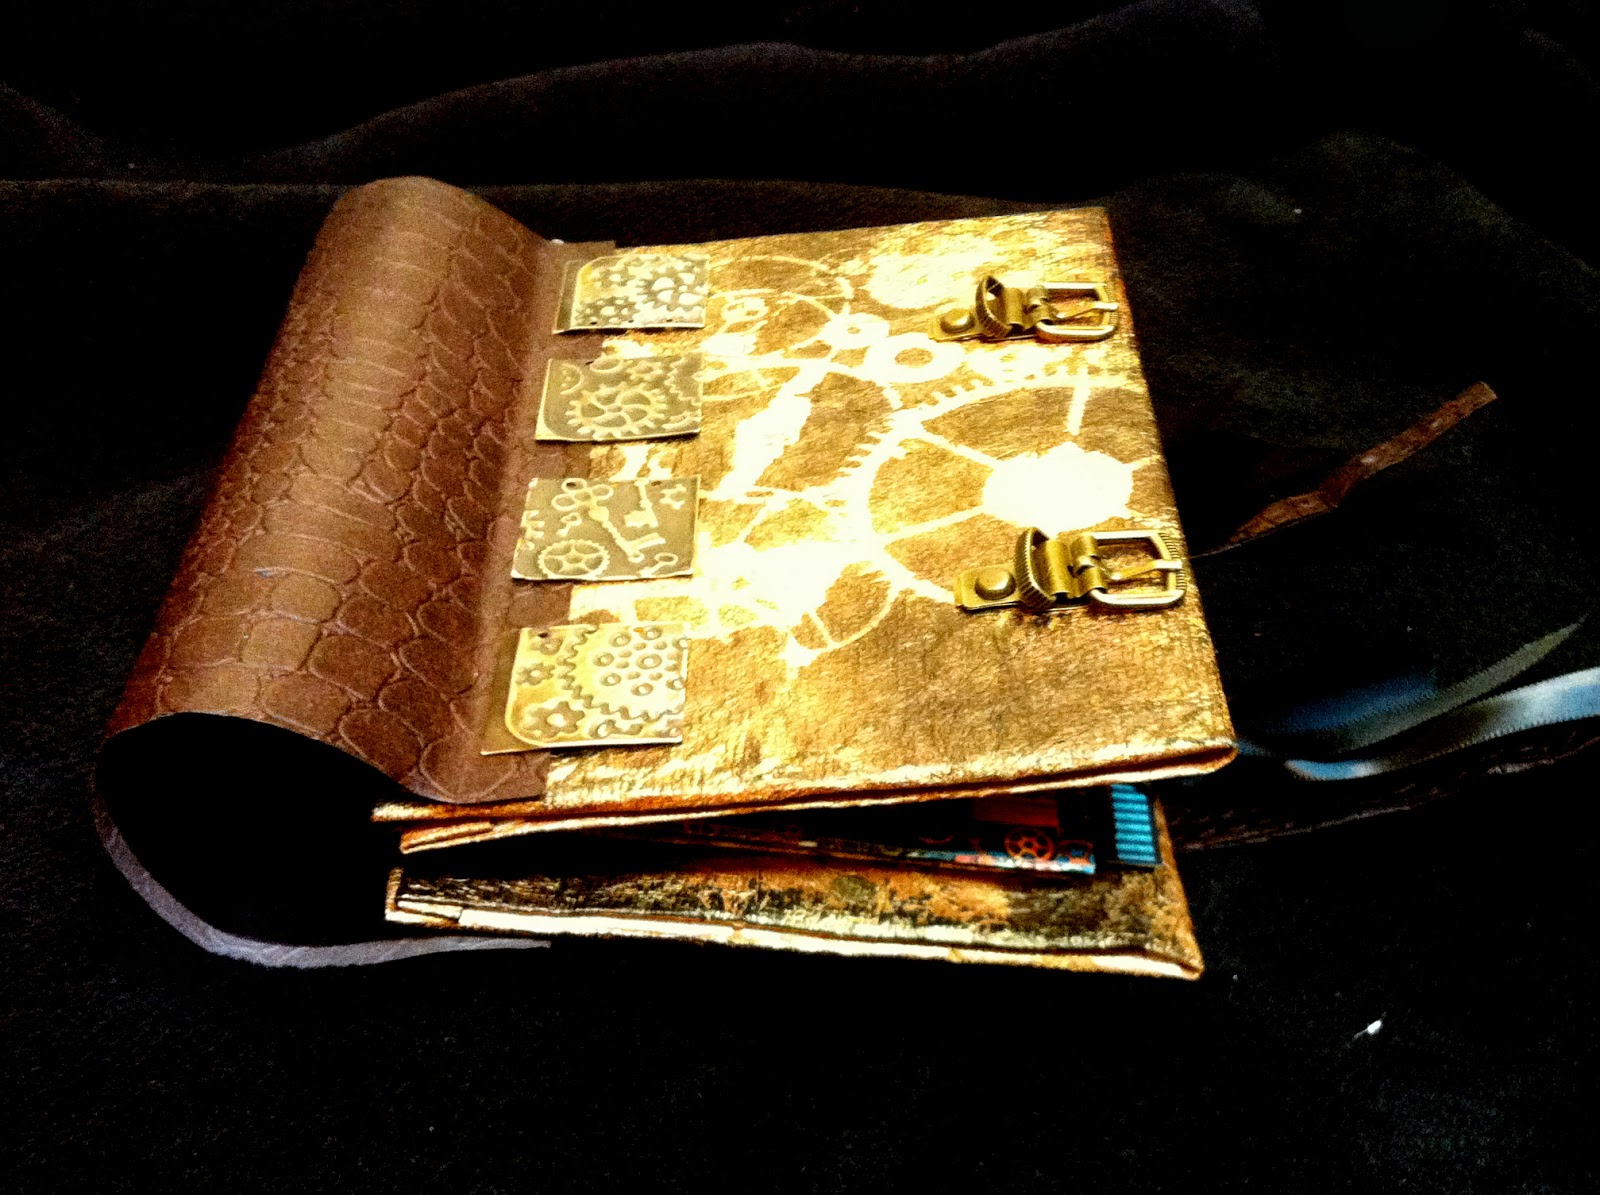
I happen to have the Vintaj machine so I used some of my dies to create some cool steampunk patters on some metal blanks. I've been wanting to do metalwork for a long time and have been collecting little bits here and there but have yet to really learn how to do anything amazing with it. I did a second set like the one below and painted them really cool with some patina paints and then didn't get to use them because they didn't match anything else in the project. It was a shame, but I'm sure I'll use them sooner or later!
For the cover....I had a shiny goldish paper that i used to cover some cardboard pieces that i cut from a box. Then i used a gear/cog stencil and my dylusions spray inks to create the cool background.
For the pages, I used toilet tissue rolls that were flattened and then covered them in graphic 45 papers. I used some distress inks, goosebumps sprays, and some metallic ink pads to make them really look great. Each page has an insert that can be pulled out. I learned this from Shell's awesome new group
"Cheapskate Crafter" on the Smeared & Smudged Forum. THANKS SHELL! It was so much fun!!
After I punched all my holes I used a really cool textured paper to make the book spine and them embellished it with my metal bits.
I also attached the buckles to be used to belt the book and hold it closed.
Got this awesome rose cameo from
Horribell and painted it with my metallic ink pads.
I used bronze, gold, and copper.
The stamps I used are the Toxic Ballerina and Toxic Twins from Smeared Ink. They are not released yet but will be soon! They were colored with Copics and highlighted with a white gel pen.
OK, I think that's most of the details and pretty much all of the pics....I won't go into too much more detail about all the stuff, but if you have questions I will be happy to answer them! I hope you like it and really hope you come back to vote!!